How to Make an Email Group in Outlook?
- Roger Reed
- Dec 21, 2024
- 2 min read

Outlook email offers ample handy features such as task management, file sharing, Microsoft Sharepoint, contact management, and more to make it suitable for industry needs. In addition, it allows the users to make the Email Group more seamless in managing the emails and completing the tasks efficiently. However, not everyone has the proper knowledge to do that. In addition, various issues can also prevent you from doing so. Therefore, to make things easier for you. Here are all the useful info!
Let’s take a glance at the primary cases that can arise when making an email group in Outlook:
. Missing or incomplete member list
. Group settings may not be configured correctly.
. Hidden from Exchange clients
. Autodiscover settings
. Outdated Outlook version
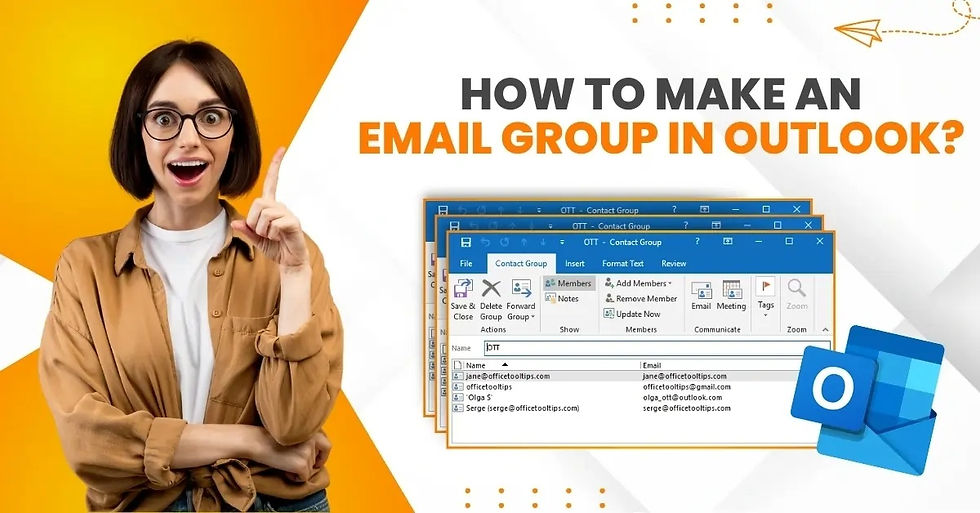
The process of making an Email group in Outlook is as follows-
. Firstly, launch the Outlook email on your PC.
. From the left panel, select the people icon.
. Select the drop-down arrow next to New Contract, and then choose the Contract Group option.
. Now, give a name to the Group you want to create.
. Then select Add Members and then choose whether you wish to add from Contacts, Address Book, or New E-mail Contact.
. Once a new pop-up window appears on the screen, double-click to add the contacts to the list.
. If you want to select multiple contacts at once, you should hold down the Ctrl key, select contacts, and choose the Members option.
. In addition, you can add the existing groups to the new group by simply selecting the group.
. If you want to add addresses from different address books, then select the Address Book drop-down menu and select one.
. You are required to repeat the same process to select and add the email addresses.
. Once the process is complete, click OK.
. In order to remove a member, choose their email address and click Remove Member.
. Now, follow the further steps to complete the grouping process.
Source:- Make an Email Group in Outlook


Comments