


How to Add and Set Up Xfinity Email on iPhone: A Complete Guide

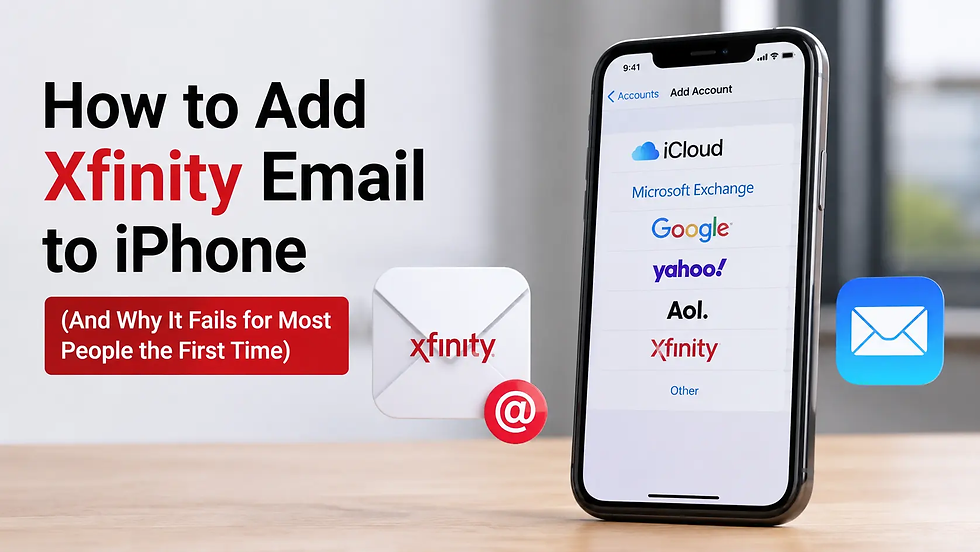
Adding Xfinity email to an iPhone is an easy process. All you need to do is open Settings and add the account using the username and password. However, sometimes it may not happen automatically, and you need to enter server settings manually. But if the issue still persists and you see a “cannot get mail” error message, disabled third-party app access might be the reason.
Xfinity may block third-party app access to the inbox. It has an option known as "third-party access security,” which you need to tick to allow other app emails to land in your inbox. Here are the steps to do it:
Go to connect.xfinity.com, and sign in with your ID and password
Click on the gear icon in the top right corner and select Settings.
Click Security, and tick the “Third Party Access Security” option.
Once the third-party access is enabled, you can try adding an email automatically using the general Add Account feature. Otherwise, you have the option to manually set up with exact server settings such as the incoming mail server and outgoing mail server.
If you can’t get email, it means the imap.comcast.net server is not responding. Here is what you can do:
Ensure that the Third Party Access Security is ticked.
Go to Settings > Mail > Accounts, tap the account, and select Delete Account.
Restart your iPhone and re-add the account.
Try using cellular data instead of WiFi, as your Wi-Fi router might be blocking the port.
Source: Add Xfinity Email to iPhone


Comments